
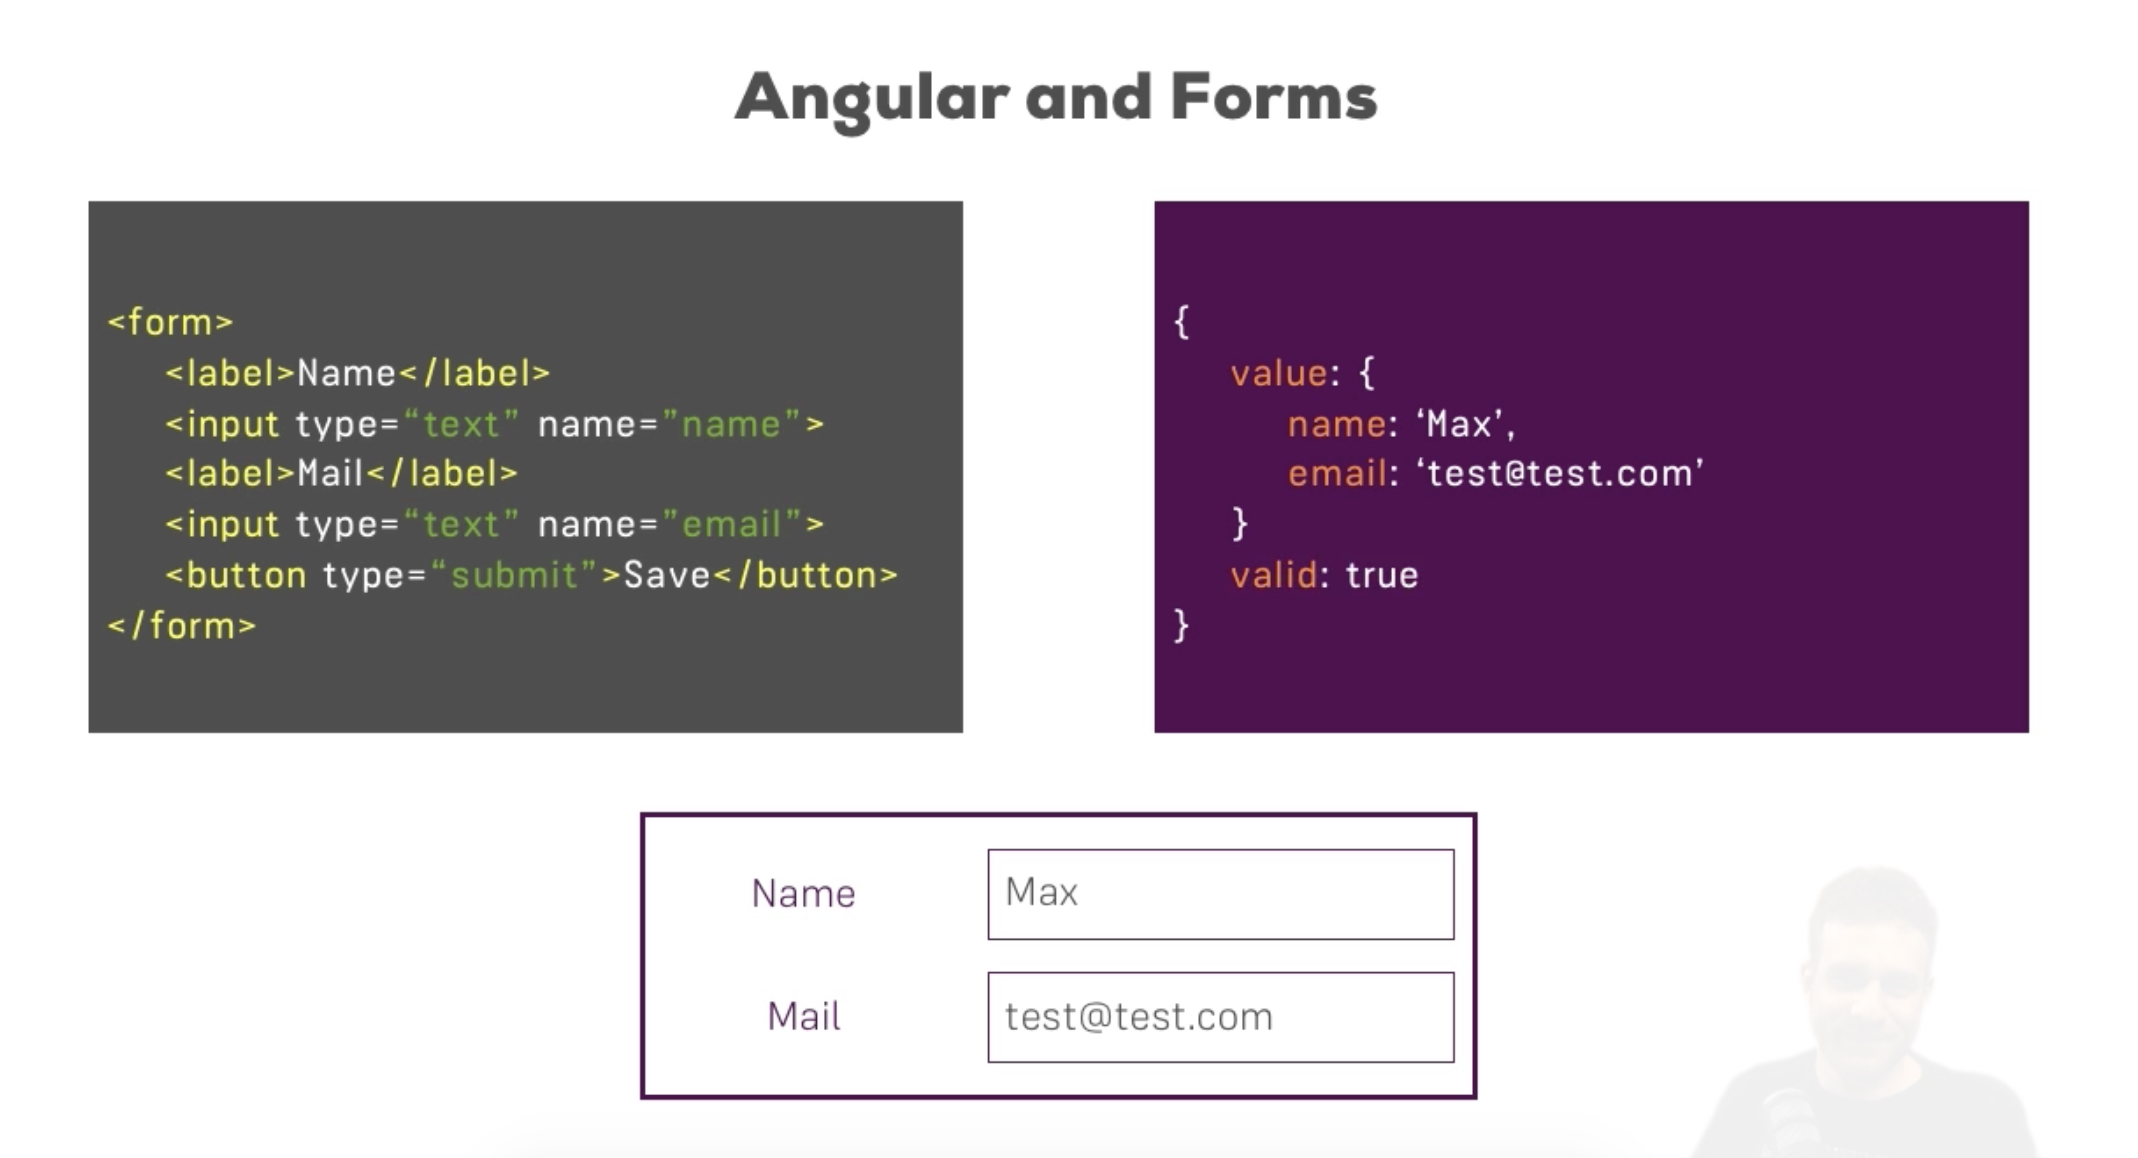
- Regarding forms, what Angular does for us is giving us a object representation of the form in order to handle fetching data and form validation.
- And also we will be able to handle form submit without reloading the page (as it is a SPA).
Two approaches
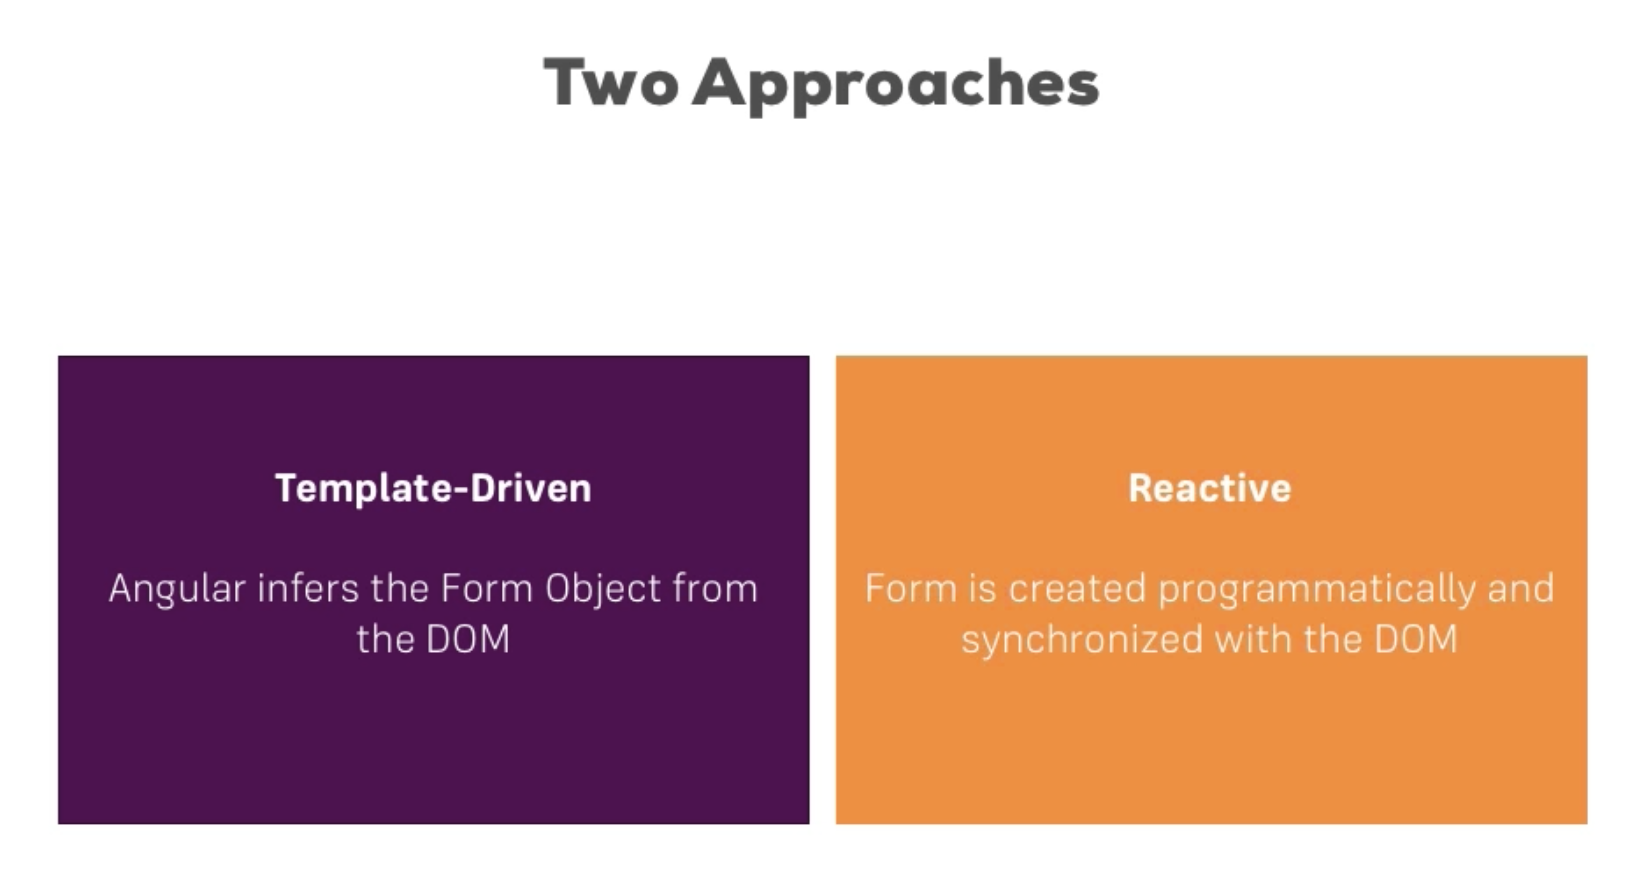
- There are two ways of handling forms with Angular. With Template -driven we will resolve most of the cases, but with the Reactive approach you will have full control of the form and it is useful for advanced cases.
- In Template-driven approch we code all the logic in the template.
TD: Creating the form and registering controls
- We need to import FormModule in the app.module.ts
app.module.ts
import { FormsModule } from '@angular/forms';
...

imports: [
    BrowserModule,
    FormsModule,
    HttpModule
  ],
- Angular will detect form tags in your html to create the javascript representation, but we still need to indicate what controls of the form we want to manage. We get that with ngModel directive and giving a “name” attribute to the control. That name we will use it to fetch the value of that control,
            <input
              type="email"
              id="email"
              class="form-control"
              ngModel
              name="email">
- Submit of the form managed by Angular is done by adding ngSubmit directive to the form tag and specifying the handler method. Otherwise the default behaviour will take place.
<form (ngSubmit)="onSubmit()">
- With the ngForm directive we finally get the desired javascript representation of our form
<form (ngSubmit)="onSubmit(f)" #f="ngForm">
import { NgForm } from '@angular/forms';

 ...
 onSubmit(form: NgForm) {
    console.log('submitted!', form);
  }

- There are useful properties in NgForm object:
- controls: what control we registered
- dirty: flag to indicate of something changed
- disabled
- enabled
- valid
- invalid
- touched
- We also can use ViewChild annotation to get reference of a template reference and get form reference:
<form (ngSubmit)="onSubmit()" #f="ngForm">
@ViewChild('f') signupForm: NgForm;
...
onSubmit() {
 console.log('submitted!', this.signupForm);
 }
TD: Adding validation to check user input
- In template driven forms we can add some validation in the tags. For example, we will add required to username input and required and email validation to email input:
               <input
              type="text"
              id="username"
              class="form-control"
              ngModel
              name="username"
              required>
...
             <input
              type="email"
              id="email"
              class="form-control"
              ngModel
              name="email"
              required
              email>
- in the NgForm object submitted we will get the valid flag of the form and of the individuals controls set to true/false as a result of validation. What Angular does behind the scenes is adding some control classes to the DOM inputs, such as ‘ng-valid’ , ‘ng-touched’, etc
Built-in Validators & Using HTML5 Validation
Which Validators do ship with Angular?
Check out the Validators class: https://angular.io/docs/ts/latest/api/forms/index/Validators-class.html – these are all built-in validators, though that are the methods which actually get executed (and which you later can add when using the reactive approach).
For the template-driven approach, you need the directives. You can find out their names, by searching for “validator” in the official docs: https://angular.io/docs/ts/latest/api/#!?query=validator – everything marked with “D” is a directive and can be added to your template.
Additionally, you might also want to enable HTML5 validation (by default, Angular disables it). You can do so by adding the ngNativeValidate to a control in your template.
TD: Using the Form State
- Lets disable the submit button on false validation (using the form local reference ‘f’):
<button
        class="btn btn-primary"
        type="submit"
        [disabled]="!f.valid">Submit</button>
- Also we would like to render in red invalid inputs on validation checks. We will use Angular classes:
app.component.css
input.ng-invalid.ng-touched {
  border: 1px solid red;
}
TD: Outputting validation error messages
- Lets add a validation message for the email input using a local reference for the email input:
<input
              type="email"
              id="email"
              class="form-control"
              ngModel
              name="email"
              required
              email
              #email="ngModel">
            <span class="help-block" *ngIf="!email.valid && email.touched">Please select a valid email!</span>
TD: Setting default values with ngModel property binding
- We want in the elect input set “pet” ad the default value. We use property binding in the ngModel directive.
app.component.ts
defaultQuestion = "pet";
app.component.html
<select
            id="secret"
            class="form-control"
            [ngModel]="defaultQuestion"
            name="secret">
            <option value="pet">Your first Pet?</option>
            <option value="teacher">Your first teacher?</option>
          </select>
TD: Using ngModel with Two-Way Binding
- Sometimes you want to react to changes in the input , so you need 2-way binding.
- It is the case when some element in the template depends on other element. In this example we will print what user input in a textarea:
app.component.html
        <div class="form-group">
          <textarea name="questionAnswer" rows="10"
            class="form-control"
            [(ngModel)] = "answer">
          </textarea>
          <p>Yout reply is {{answer}}</p>
        </div>
app.component.ts
answer='';
- We get the value in the NgForm in the typescript and also in the template
TD: Grouping form controls
- We can group some form controls under a same javascript object and be as another form control for checking engine. For example let group user data :
<form (ngSubmit)="onSubmit()" #f="ngForm">
        <div id="user-data"
        ngModelGroup="userData"
        #userData="ngModelGroup">
...
        <p *ngIf="!userData.valid && userData.touched">User data is not valid!</p>
TD: Handling Radio Buttons
          <div class="radio" *ngFor="let gender of genders">
            <label for="">
              <input type="radio"
                name="gender"
                id="gender_{{gender}}"
                ngModel
                [value]="gender"
                required>
                {{gender}}
            </label>
          </div>
app.component.ts
genders= ['male', 'female'];
TD: Setting and patching form values
- We can set the whole form to some value with two methods: setValue and patchValue
- With setValue we overwrite the whole form. For example let set the form on clicking in the suggested user button:
app.component.html
<button class="btn btn-default" type="button" (click)="suggestUserName()">Suggest an Username</button>
app.component.ts
  suggestUserName() {
    const suggestedName = 'Superuser';
    this.signupForm.setValue({
        userData: {
          username: suggestedName,
          email:''
        },
        secret:'pet',
        questionAnswer:'',
        gender:'male'
    });
  }
- With patchValue on the form property of the NgForm object we don’t touch other values in the form , only the specified ones:
    this.signupForm.form.patchValue({
        userData: {
          username: suggestedName,
        },
        gender:'male'
    });
TD: Using form data
- We will print out the information user input on submission:
app.component.html
  <div class="row" *ngIf="submitted">
    <div class="col-xs-12">
      <h2>Your submitted data is:</h2>
      <ul>
        <li>Username: {{user.username}}</li>
        <li>Email: {{user.email}}</li>
        <li>Gender: {{user.gender}}</li>
        <li>Secret question: {{user.secret}}</li>
      </ul>
    </div>
  </div>
app.component.ts
  user = {
    name: '',
    email: '',
    gender: '',
    secret: '',
  };

...

  onSubmit() {
    console.log('submitted!', this.signupForm);
    this.submitted = true;
    this.user.name = this.signupForm.value.userData.username;
    this.user.email = this.signupForm.value.userData.email;
    this.user.gender = this.signupForm.value.gender;
    this.user.secret = this.signupForm.value.secret;
  }
TD: Resetting forms
this.signupForm.reset();
- You can also pass values to reset method to reset to specific values.